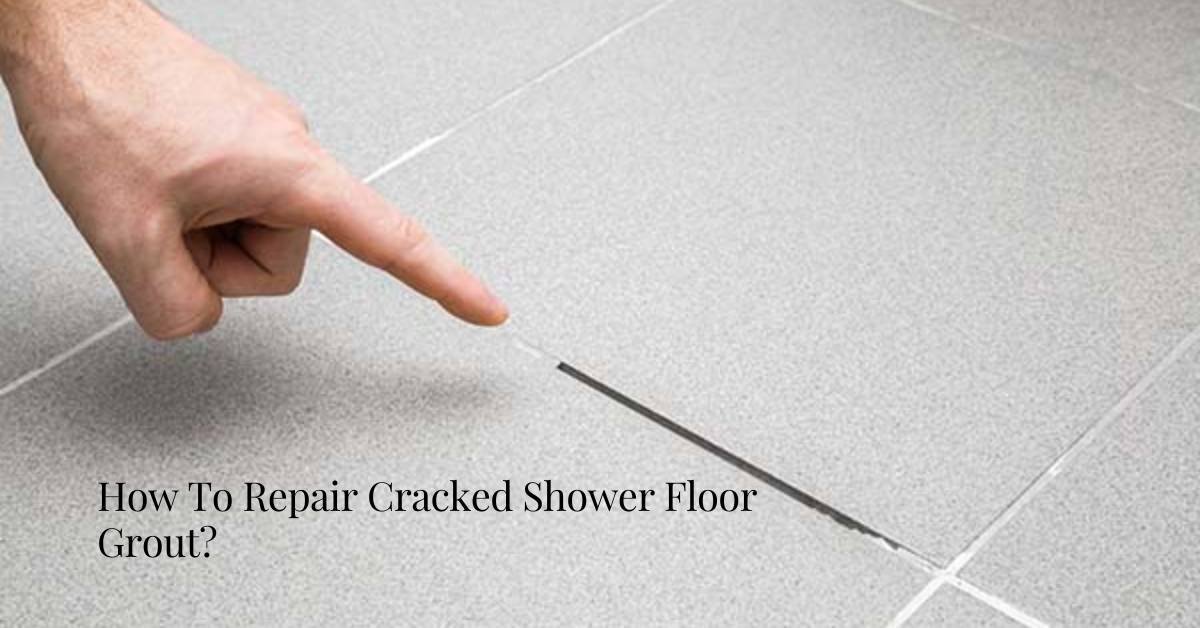
How To Repair Cracked Shower Floor Grout?
To repair cracked shower floor grout, clean the area, remove loose grout, mix and apply new grout, and wipe away excess. Allow the grout to dry before using the shower.
If you have a cracked shower floor grout, you may be wondering how to repair it. Grout is an important part of your shower, as it helps to seal the gaps between tiles and prevent water from seeping through. However, over time, grout can become worn or damaged, leading to cracks and gaps.
In this blog post, we will discuss how to repair cracked shower floor grout and provide some tips to help you get the job done right.
Identify the cause of the crack
Before you can repair the crack, it’s important to understand why it happened in the first place. There are several potential causes of cracked grout, including:
- Age: Over time, grout can become brittle and prone to cracking. This is especially true if the grout was not applied properly or if the shower has not been well-maintained.
- Water damage: If water is allowed to seep behind tiles or underneath the grout, it can cause the grout to crack and weaken.
- Movement: If the shower floor is not properly supported, it may shift or settle, causing the grout to crack.

It’s important to identify the cause of the crack before you begin the repair process, as this will help you determine the best course of action.
Repairing the crack
Once you have identified the cause of the crack, you can begin the repair process. Here are some steps you can follow:
- Remove any loose or crumbling grout from around the crack using a small chisel or screwdriver.
- Clean the area thoroughly, removing any dirt or debris that may have accumulated. You can use a grout brush or toothbrush to scrub the area, or you can use a grout cleaner to remove any stains or discoloration.
- Mix up a batch of fresh grout according to the manufacturer’s instructions. You may need to add water to the grout mix to achieve the desired consistency.
- Using a grout float or small trowel, apply the grout to the crack, pressing it in firmly to ensure that it fills the gap completely.
- Wipe away any excess grout using a damp sponge or cloth, being careful not to remove too much grout from the crack.
- Allow the grout to dry completely before using the shower. This can take anywhere from a few hours to a full day, depending on the type of grout you are using.
Preventing future cracks
Once you have repaired the crack, you’ll want to take steps to prevent it from happening again in the future. Here are a few tips:
- Keep the shower clean and well-maintained: Regularly cleaning and maintaining your shower can help to prevent grout from becoming discolored or weakened.
- Repair any water damage promptly: If you notice any water damage in your shower, it’s important to address it right away. This can help to prevent further damage to the grout and tiles.
- Use a grout sealer: Applying a grout sealer can help to protect the grout from water damage and staining.
- Support the shower floor properly: If the shower floor is not properly supported, it may shift or settle, causing the grout to crack. Be sure to use a sturdy base when installing the shower and follow any recommendations from the manufacturer regarding support.
How do you fix hairline crack in shower floor grout?
To repair a hairline crack in shower floor grout, you will need to clean the area thoroughly and remove any loose or crumbling grout. Then, mix up a batch of fresh grout according to the manufacturer’s instructions and apply it to the crack using a grout float or small trowel.
Press the grout firmly into the crack to ensure that it fills the gap completely, and then wipe away any excess grout with a damp sponge or cloth. Allow the grout to dry completely before using the shower
Can you grout over cracked grout?
It is possible to grout over cracked grout, but it is generally not recommended as it is not a permanent solution. If the underlying problem that caused the grout to crack has not been addressed, the new grout will likely crack as well. It is best to remove the cracked grout completely and apply fresh grout to ensure a long-lasting repair.
To remove the cracked grout, you can use a small chisel or screwdriver to carefully chisel it out, being careful not to damage the surrounding tiles. Then, clean the area thoroughly and apply new grout as described in the previous answer.
FAQs
Can I use caulk instead of grout to repair the crack?
While caulk can be used to repair a crack in a shower floor, it is not the ideal solution. Caulk is more flexible than grout, which means it is prone to cracking and breaking down over time. Grout, on the other hand, is a much more durable and long-lasting material, making it a better choice for repairing a crack in a shower floor.
Can I repair a crack in the grout myself, or do I need to hire a professional?
It is possible to repair a crack in the grout yourself, as long as you have the necessary tools and materials. However, if you are not confident in your ability to complete the repair, or if the crack is particularly large or deep, it may be best to hire a professional. A professional will have the experience and knowledge to properly repair the crack and ensure that it does not reoccur.
How can I prevent the grout from cracking again in the future?
There are several steps you can take to prevent the grout from cracking again in the future:
1. Keep the shower clean and well-maintained: Regularly cleaning and maintaining your shower can help to prevent grout from becoming discolored or weakened.
2. Repair any water damage promptly: If you notice any water damage in your shower, it’s important to address it right away. This can help to prevent further damage to the grout and tiles.
3. Use a grout sealer: Applying a grout sealer can help to protect the grout from water damage and staining.
4. Support the shower floor properly: If the shower floor is not properly supported, it may shift or settle, causing the grout to crack. Be sure to use a sturdy base when installing the shower and follow any recommendations from the manufacturer regarding support.
Conclusion
In conclusion, repairing a crack in the grout of your shower floor is not a difficult task, as long as you have the right tools and materials. By following the steps outlined above, you can easily fix the crack and prevent it from happening again in the future.
By keeping your shower clean and well-maintained, repairing any water damage promptly, using a grout sealer, and supporting the shower floor properly, you can ensure that your shower stays in good condition for years to come.

Natasha is the owner of Smart Home Bath, a company that specializes in providing innovative and convenient home automation solutions. With a background in electrical engineering and a passion for making life easier through technology,
Natasha founded Smart Home Bath to help homeowners upgrade their living spaces and improve their daily routines.
Over the years, Natasha has become an expert in the field of smart home technology, and her company has grown to be a trusted source of high-quality products and expert installation services.
Whether you're looking to add voice-controlled lighting, automated temperature control, or any other smart home feature, Natasha and her team at Smart Home Bath have the knowledge and expertise to help you get the most out of your home automation system.
So, if you want to make your home smarter, Natasha and Smart Home Bath are the perfect people to turn to.
Last update on 2023-06-29 at 08:28 / Affiliate links / Images from Amazon Product Advertising API


